 In this article we will guide you how to install the Directadmin panel
Before we start installing Directadmin, we need to install some default packages on the server. You can install these packages on your server by performing the following operations according to your operating system.
For Centos
yum install wget gcc gcc-c ++ flex bison make bind bind-libs openssl -devel perl quota libaio libcurl-dev libcurl-dev gd zlib-devel zip unzip libcap-devel
For Debian
apt-get install gcc g ++ make flex bison openssl libssl-dev perl perl-base perl-modules libperl-dev libaio1 libaio-dev
we run ssh to install packages in our server. After the installation process of packages is completed, we can move to next step for installing DirectAdmin panel. First you need to do
wget http://www.directadmin.com/setup.sh
This command is to download setup file to your server. Then, in order to make the installation file operational
chmod + x setup.sh
Then, to start installation, run this command
./setup.sh
After running setup file, we will be prompted for our DirectAdmin client id and license id
Please enter your Client ID:
Please enter your License ID:
Once you have verified this information, you will be prompted to enter the hostname.
Enter your hostname (FQDN):
Once you have entered your hostname, you will be able to re-verify your license information for the last time.
Client ID:
License ID:
Hostname:
Is this correct? (y, n):
We will verify that information is correct by pressing Y and continue processing in the next stage
Is eth0 your network adapter with the license IP (xx.xx.xx.xx)? (y, n):
will come in the form of information. Here you will be asked if the IP address on your ethernet card is your license ip address. If you have the same ip address as the ip you are licensed to, we will continue to do it. If you see a different ip address, you must change your eth0 ip address to your license ip address.
In the next step
Is 123.45.67.899 IP address in your license? (y, n):
We press Y to continue.
Your installation will begin after this process. The only thing to pay attention to from the installation section
This is the section where Apache/PHP settings are made. In this step you must select and continue the Custombuild 1.2 option so that you can complete the installation without any problems. In this section you can answer questions and settings by saying Y. After the installation is complete, DirectAdmin will give you admin login information by default. To change this information ssh
passwd admin
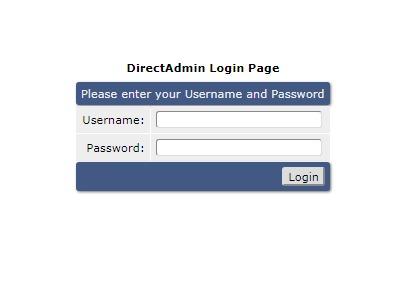
Now you can login to Directadmin and start using